Transferring A Patient With SMA During Therapy
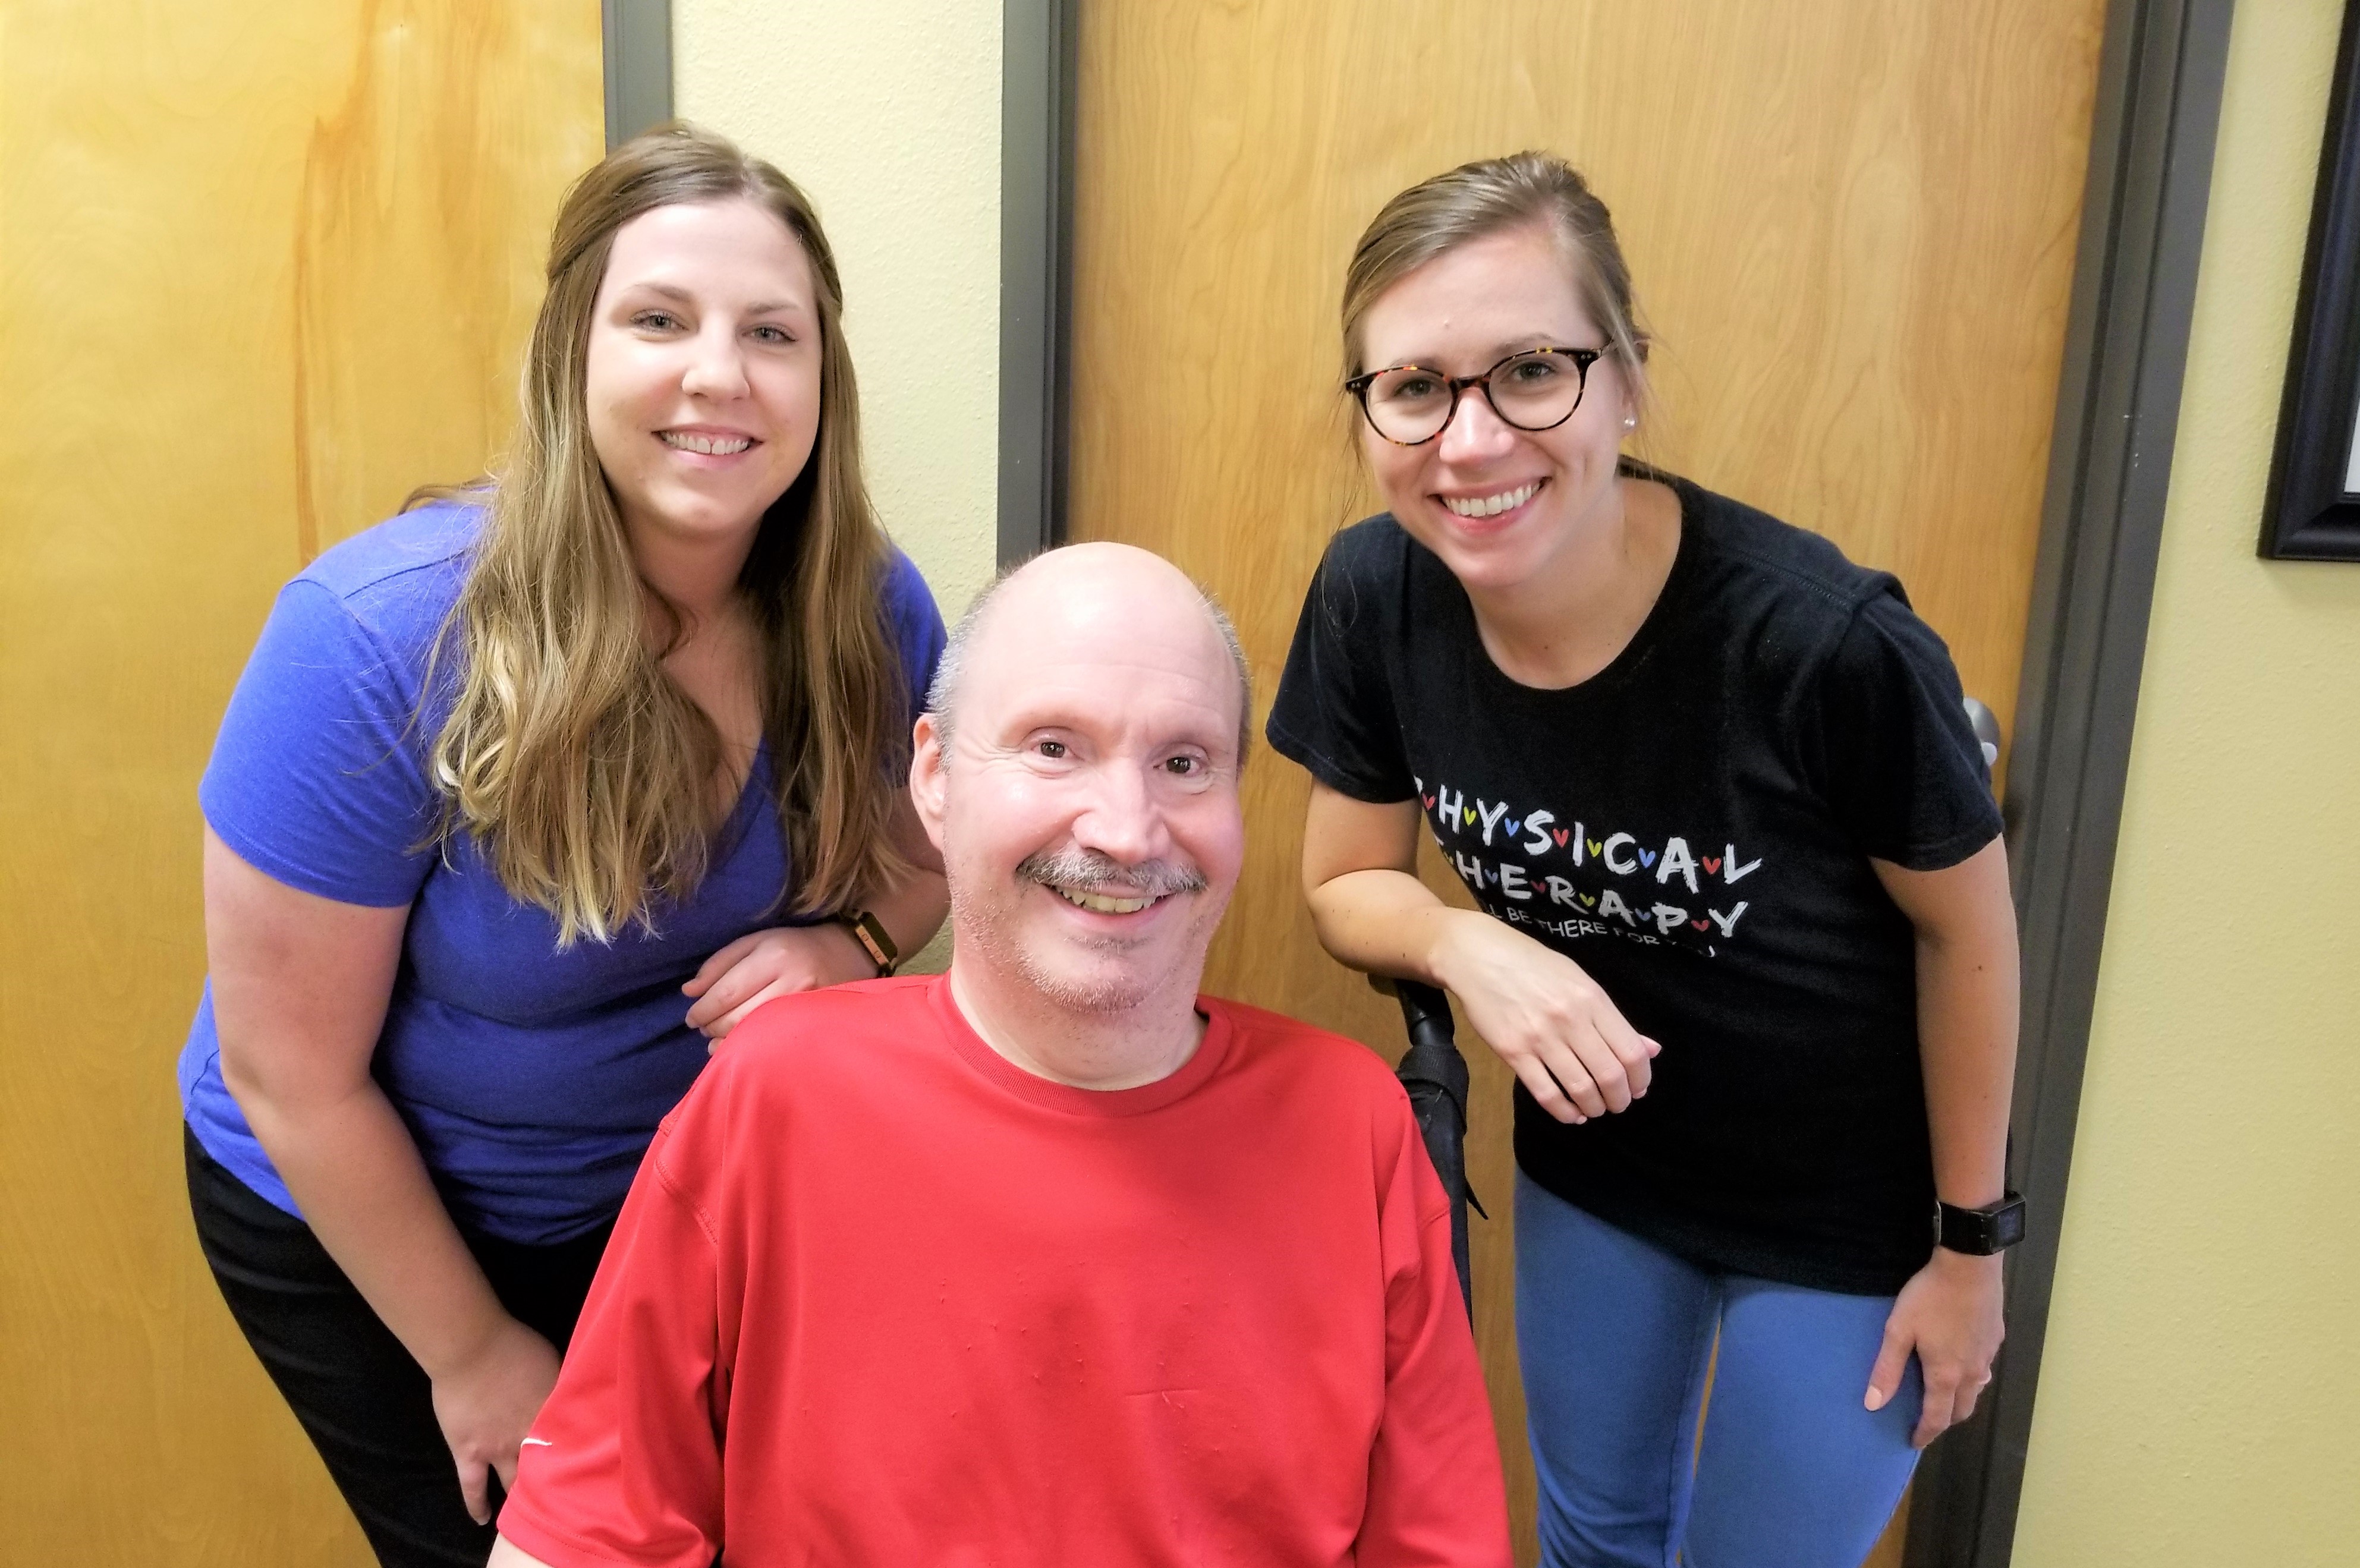
While the majority of students in physical therapy learn how to transfer patients in school with many different assistance requirements, patients who suffer from spinal muscular atrophy usually present more of a challenge than many physical therapists come across in the field, especially working in an outpatient setting. Some patients that require transferring have the ability to assist in the transfer process, because they may have some amount of upper or lower body strength that assists in the transfer. Patients who suffer from spinal muscular atrophy usually do not have much, if any upper or lower body strength or balance control, making the transfer process a true dependent or maximum times two transfer. In this article, I will detail the process that I use with regards to transferring my patient, Michael, during his physical therapy. Every other week, we transfer Michael from his wheelchair to the therapy table so that we can work on his range of motion and flexibility exercises, along with working on his balance control. The following is the process that we use.
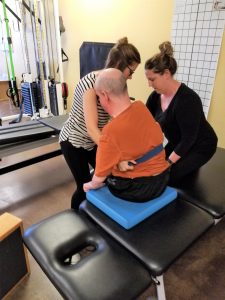
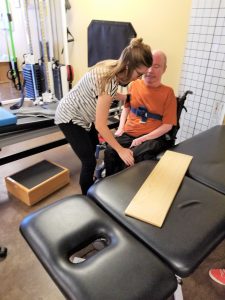
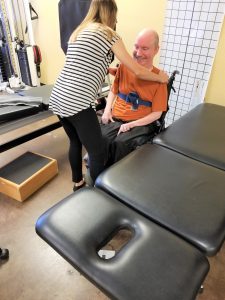
In the first set of pictures, listed below, we make sure that the therapy table is lower than the height of Michael’s wheelchair and his chair is at an angle with the table. With the therapy table lower than Michael’s wheelchair, we can use momentum to help in the transfer process. It is very important to make sure the wheelchair is locked prior to any transfer so that the wheelchair doesn’t move out from under the patient while moving. The gait belt is then placed around Michael’s upper torso. Usually, you would place the belt at the center of gravity of the patient, which is usually around the umbilicus, but we are unable to do this secondary to other issues with this patient. This gait belt is there to make sure we have full control of the transfer and the patient is secure. After securing the gait belt, I lean Michael to his right to lift his bottom off the chair, so that my assistant, Vikki, can place the slide board underneath Michael. Once the slide board is securely under Michael, I sit Michael back up into a seated position. Michael’s right hip has severe muscle and nerve damage, so once on the slide board, I make sure that I keep Michael positioned on the left side of his buttocks. This not only makes the transfer process easier for him, it minimizes the risk of any unnecessary discomfort that he may go through during the transfer process.
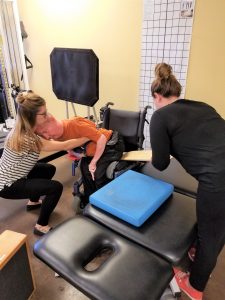
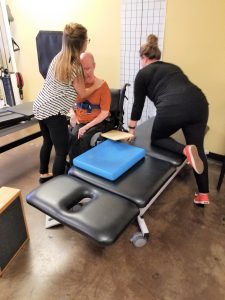
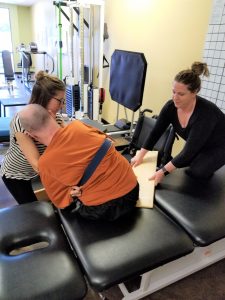
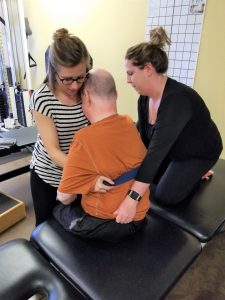
In the next set of pictures, I place Michael’s forehead on my left shoulder, and step closer to Michael, so that I can put my arms around his upper torso and onto the gait belt with a supinated grip for safety. I then position Michael’s knees between my legs so that I can control his lower body as well during the transfer process. It is important to always make sure you have good body mechanics and use your legs and momentum so there is no injury to you over time with these difficult transfers. By having Michael’s forehead on my left shoulder, this minimizes or eliminates the stress that he may feel on his neck. If you find yourself working with a patient who has little or no head and neck control, extra precautions may be necessary during the transfer process. Vikki will stand behind Michael and place one hand on the back of his pants, and one hand on the gait belt. On the count of 3, Vikki and I slide Michael from his wheelchair to the cushion that is on the therapy table in one motion. Once on the therapy table, Vikki will then remove the slide board from underneath Michael, and we can then sit him straight up and allow him to gain his balance.
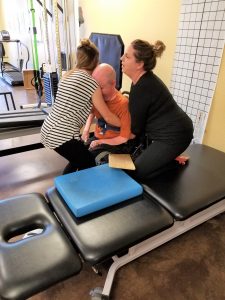
Once we finish the transfer process, we keep the gait belt around Michael’s upper torso for safety reasons while working on his seated balance. The gait belt also helps when we lay Michael down on his back to work on his range of motion and flexibility of his hips, legs, knees, ankles and feet. We can reposition Michael on the therapy table if needed, and the gait belt also helps when we sit Michael back up to transfer him back to his wheelchair.
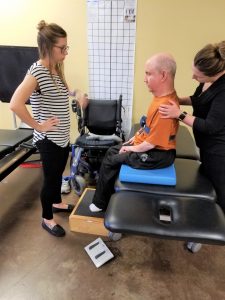
In the next set of pictures, and with the gait belt still securely around Michael’s upper torso, I place Michael’s forehead on my right shoulder and lean him to his left, so that Vikki can place the slide board underneath him. Once the slide board has been securely positioned, I lean Michael back up into a sitting position, making sure that I keep him on the left side of his buttocks. We now make sure that the therapy table is higher than his wheelchair, so we can use momentum during the transfer process. With my arms around Michael’s upper torso and on the gait belt in a supinated position, and while his head is resting on my left shoulder, Vikki places one hand on the back of Michael’s pants, and one hand on the gait belt. On the count of 3, we transfer Michael in one motion back to his wheelchair, again after we have made sure his wheelchair is locked. Once in his wheelchair, we remove the slide board and reposition Michael back in a comfortable position.
Once properly positioned in his wheelchair, and after we secure his seatbelt, we remove the gait belt from around his upper torso.
Learning how to transfer Michael was not only something new for him, it was also a big refresher for those of us who have worked in outpatient for a while. The transfer process itself has become more of a routine for all of us now that we have done it numerous times, and by transferring Michael from his wheelchair to the therapy table, we can utilize more exercises which will help him not only in his flexibility and range of motion, it’s also a great workout for his core muscles.

